How to add a blog to Blogdown
Pre-requisites
- Install blogdown and Hugo in R-Console
https://bookdown.org/yihui/blogdown/installation.html
Create from scratch
Creating it from scratch is probably the easiest since you can run and test your code as you type it up. This way you don’t have to worry about changing your relative file paths…
Clone or open the blog repository from github
Using R-studio
In R-studio open the terminal tab or press shift-alt-t.
Navigate to the directory where you wish to save the repo using cd and mkdir.
Inside this directory run the command:
git clone https://github.com/Eighty20/StatsLab_Blogdown.git

Using GitBash in windows
Create a folder to work in.
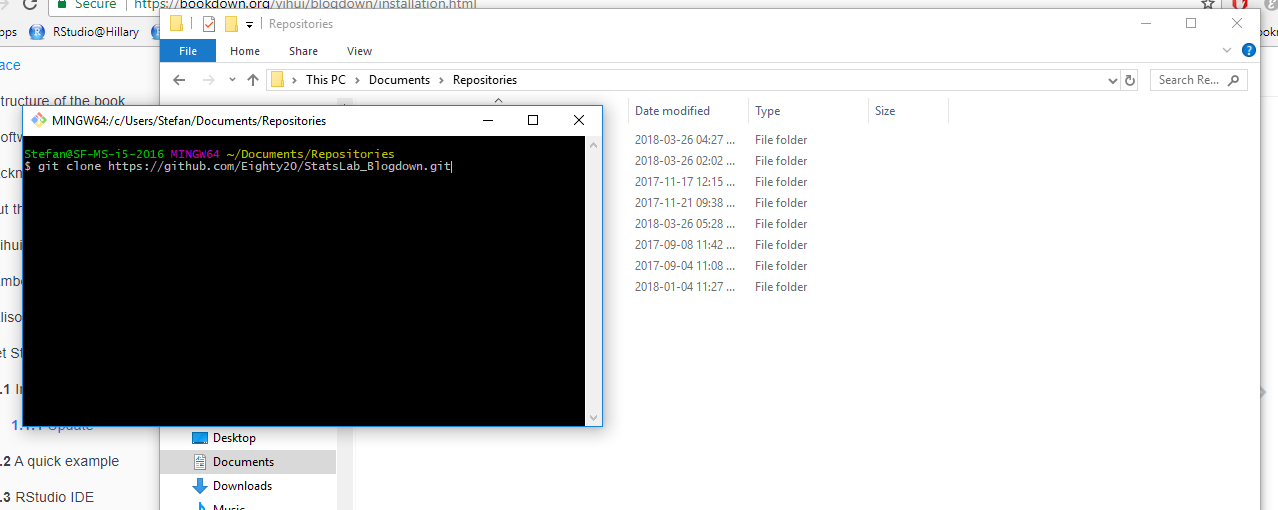
Open GitBash in this folder (try using right-click).
Run the command:
git clone https://github.com/Eighty20/StatsLab_Blogdown.git

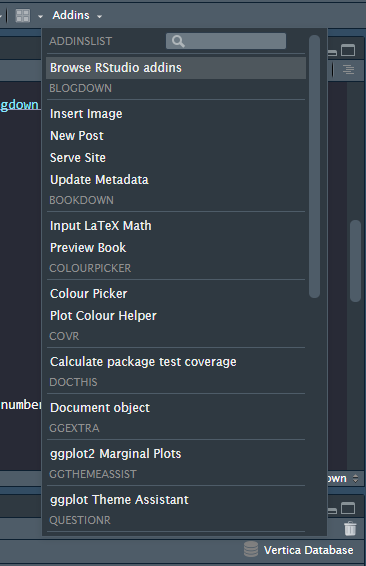
Create a post using “Addins” dropdown
Open the R project file inside the repository
Click on the Addins - New Post button

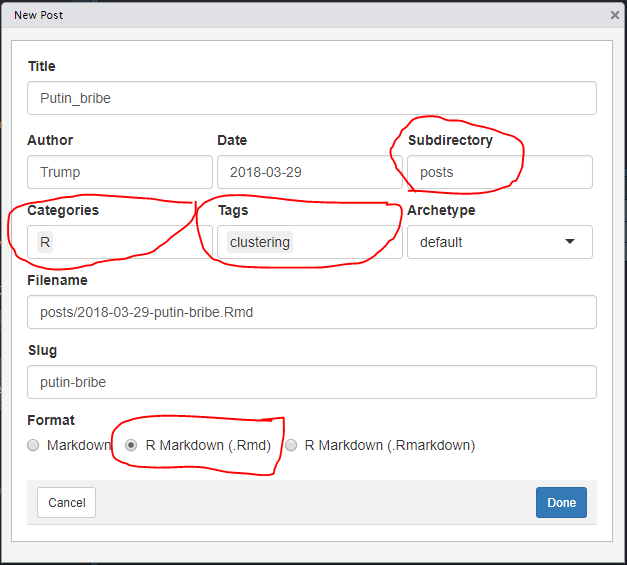
- Name it
- Change output folder to “posts”
- Change category to R
- Add some tags
- Change ouput format to .Rmd

Change/check your date format
The website expects your date to be formatted as a number not text and it wants yyyy-mm-dd
Write a kickass post
How to add data
Save all your data inside of website/static/data/. Create a folder for your data so we don’t polute this folder too quickly.
Since you are inside website/content/posts/ you need to reference your data accordingly:
data.table::fread("../../static/data/your-folder/your-dataset")

How to add pictures
Place your pictures inside website/static/Pictures/
insert your pictures using:

Compile your new work using Blogdown
Now that you have finished your epic post you need to knit the post. You don’t need to click the Knit button; just run the following command in Console:
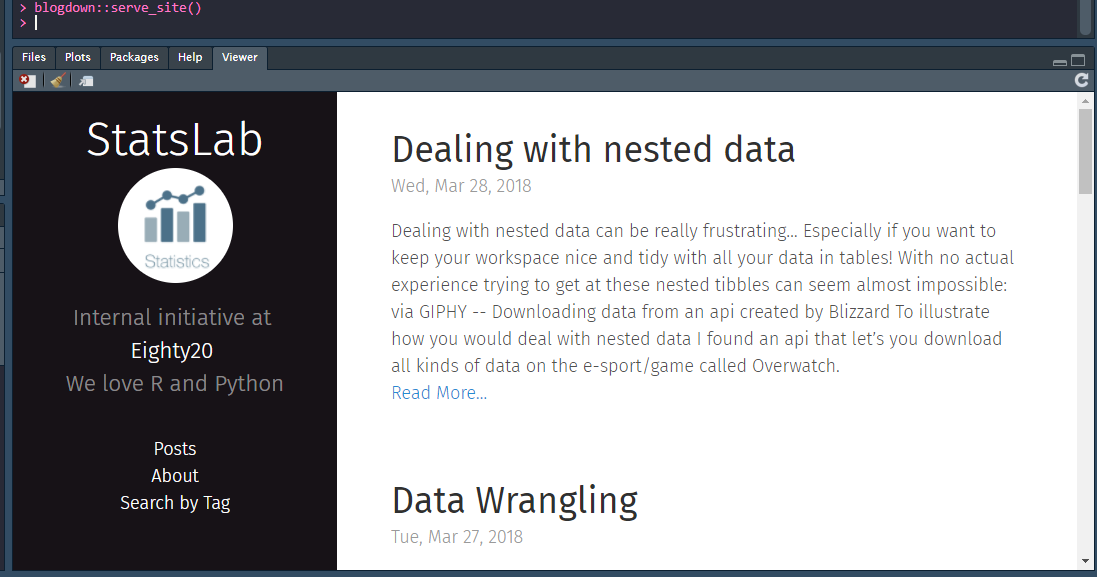
blogdown::serve_site()
You should see a preview of your work in the Viewer pane:

This is interactive and will update if you continue editing the page
Push your post to the website
Now that the site has been previewed and your post looks OK you can push the changes to the github repo that the site is monitoring:
Go to your terminal and make sure you are in the root folder of the website.
- Get the remote nodes
git fetch
- Check that you are up to date
git status
- If you are behind you should first pull
git pull
- Stage/add your work to the website
git add .
- Save your work
git commit -m "this is my save of this work where I did this post"
- Update the site
git push
The website will check in on the repository every now and then, wait 15 min and refresh the page
Create from existing Rmd
- Clone/fork or open the blog repository from github
- Copy your Rmd into
/content/posts/
- Change your data and picture references
- Compile your new work using Blogdown
- Push your post to the website
